Introducing micromacro
Notes on building a hand-wired, hand-coded macropad
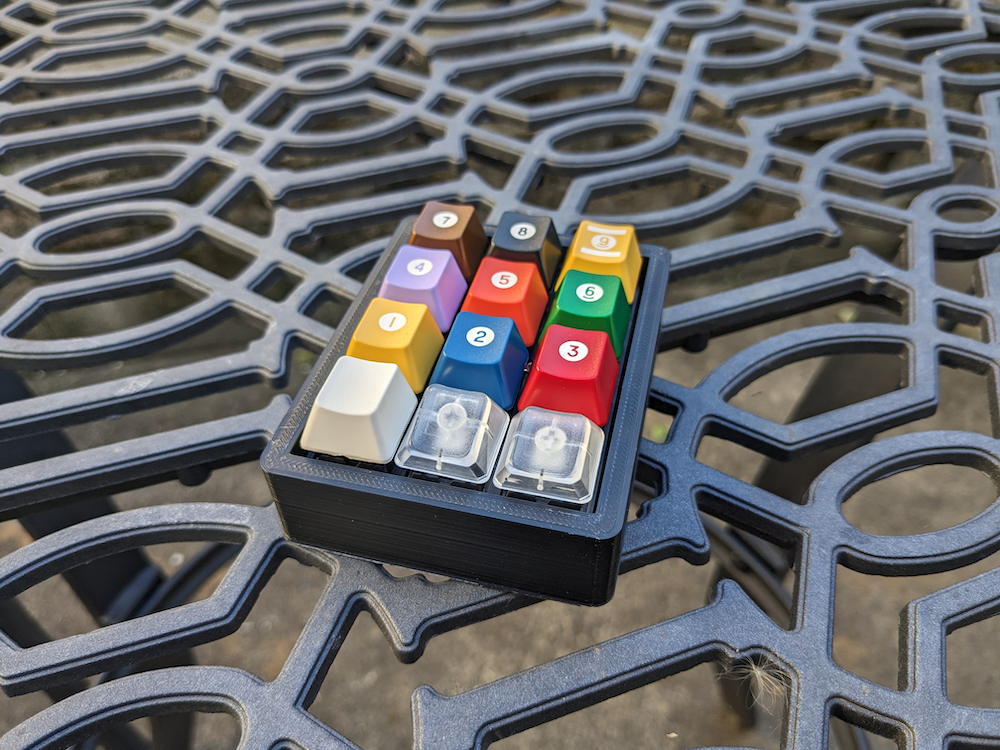
In high school I was pretty interested in mechanical keyboards - aesthetic keycaps, weird layouts, annoyingly loud switches and all that. I'm long past my days believing in their superiority, but I still have lots of switches and keycaps lying around so I decided to make a little project to put those components to good use. I've never made a handwired keyboard before, and I thought it would be fun to write my own firmware instead of using unnecessarily complex frameworks like QMK. The result? A compact macropad that makes it stupidly easy to create map keys to macros and arbitrary combinations of keystrokes. I call it
BOM
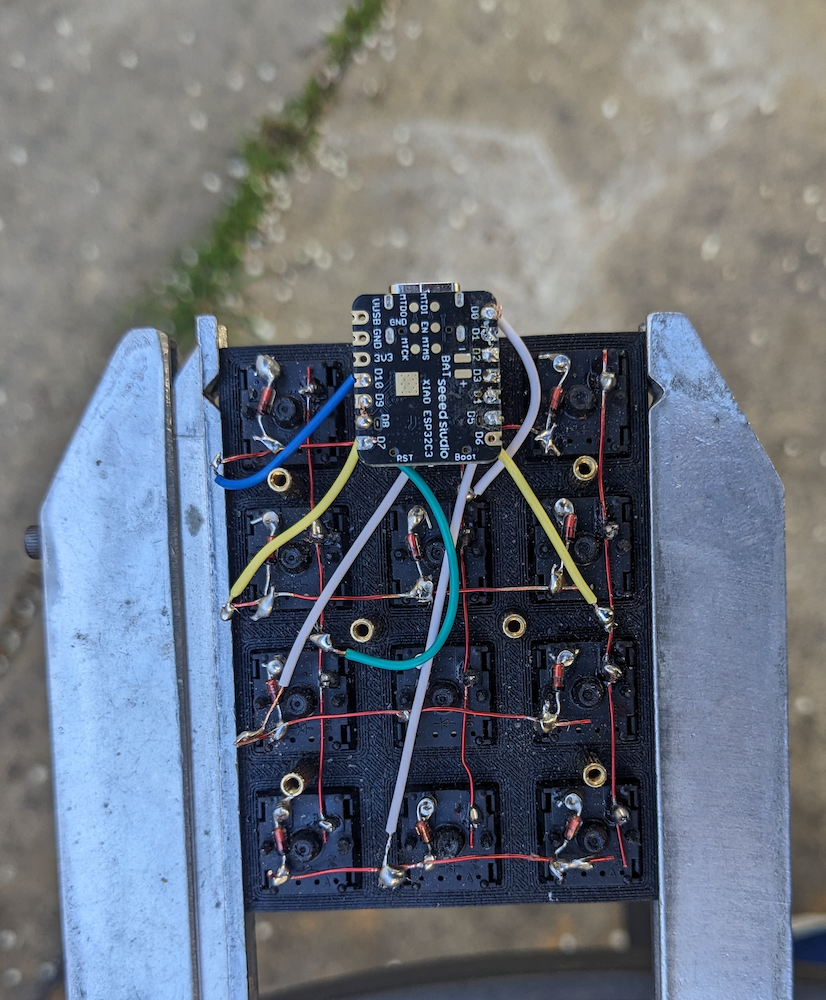
Most of the materials I alread had on hand, so they were not chosen necessarily chosen for their opitimality. But I made do:
- Seeed Studio XIAO ESP32C3 (MCU)
- 12 Cherry MX Whites (Keyswitches)
- 12 1N4148 Diodes
- Enameled Copper "Magnet" Wire (to hook up rows + columns) The advantage to enameled wires is that they are pretty stiff (so they provide support when using a flimsy 3d-printed plate) and you can just sand off the enamel where you want to make contacts.
- Wire to connect the ESP32's pins to rows & columns (I used 22 AWG Gauge UL1429)
- M2 screws, nuts and standoffs
Cad Files
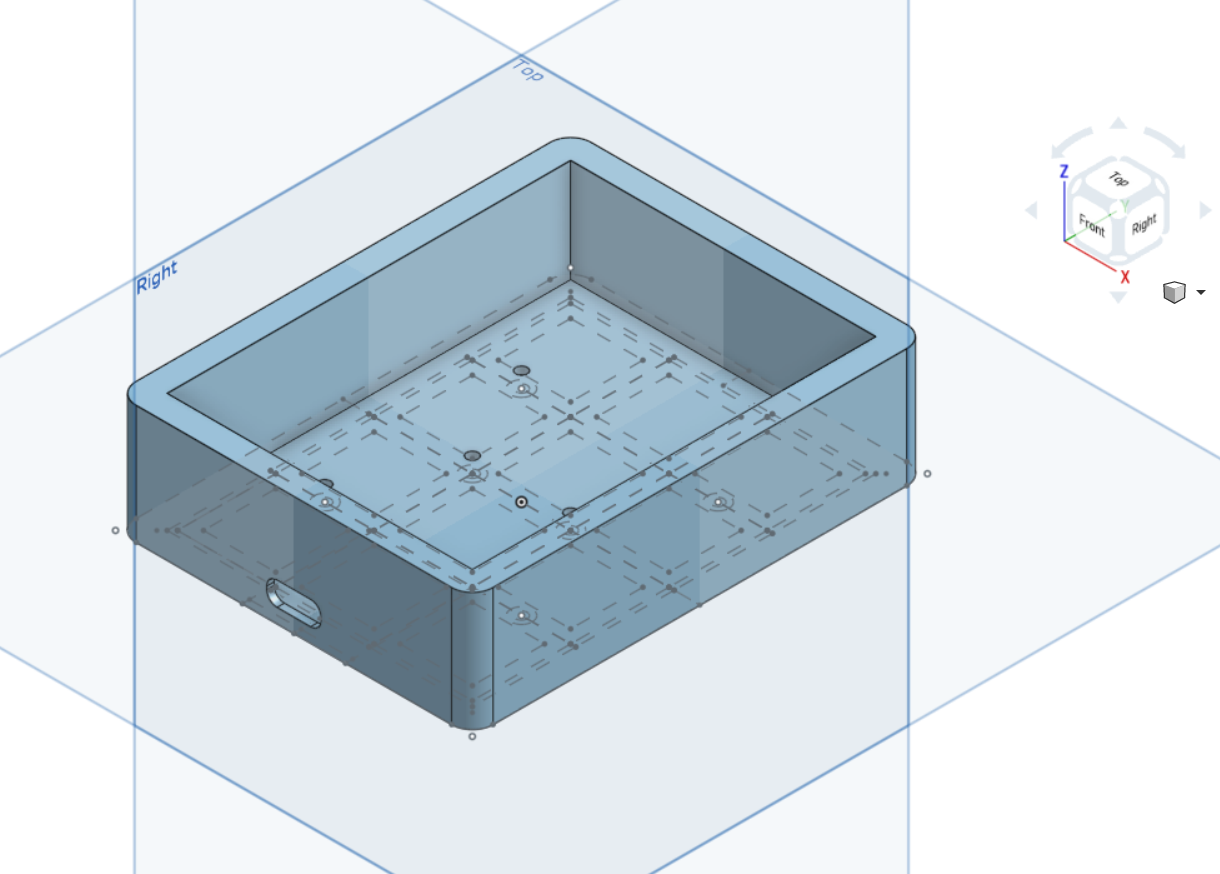
I designed the case and switch plate using Onshape and you can find the project here. I've put the exported STL files I used for 3d printing under the "cad_files" directory in the repo.
Software
The ESP32 microcontroller I'm using is a leftover from a previous project, but it's pretty cool all-things-considered. It's very compact, has a RISC-V (!) CPU, and has excellent Bluetooth and wireless support. Unfotunately it doesn't have USB OTG support and thus I serial communication with UART was my only option for a wired connection. So I had to write a suite of client porgrams that could run as daemons and read in key press data sent over serial which is then mapped to specific keys/macros events. You can find my code for both the ESP32 and various clients in this github repo.
Results
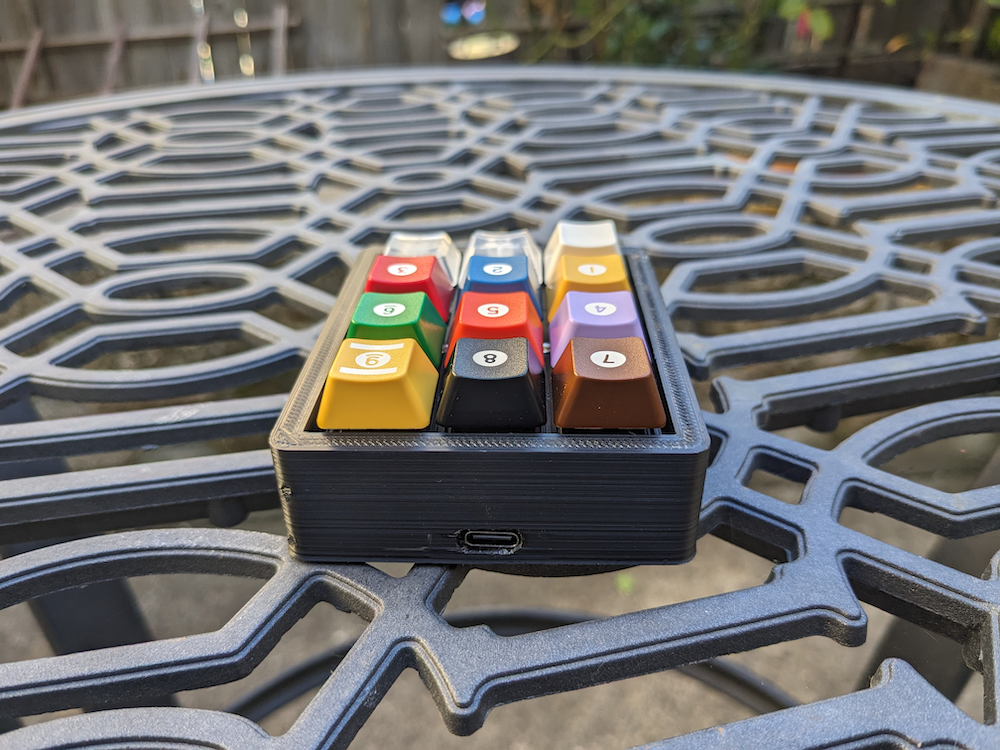
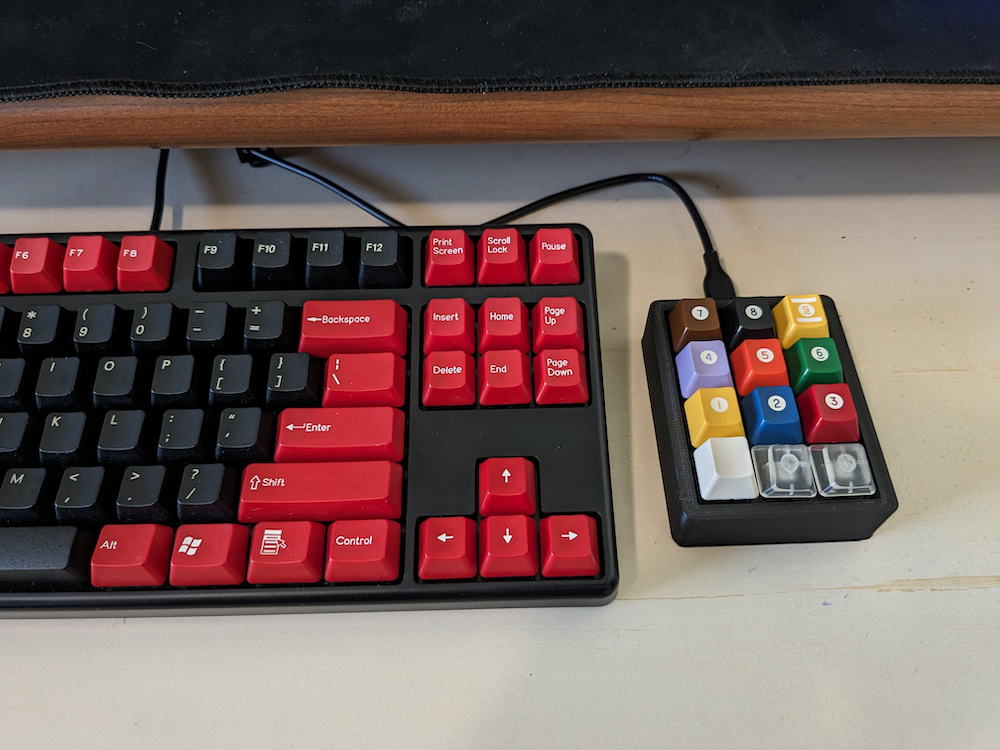
Tips and misc. thoughts
- I recommend using high quality wires for the connections to the microcontroller pins. I originally used these very cheap jumper cables that were included with a breadboard I purchased a long time ago, but they were the source of endless frustration. The slightest stress to the cables when soldered to a pin would cause the wires to break and I was stuck in this cycle of soldering the wires to the keyswitch matrix and then in the process of soldering to MCU pins breaking wires causing me to resolder to the keyswitch matrix again and again... My solution was to instead use some 22 AWG PVC-insulated wire which was much stronger and also would hold up to any heat transfer from the soldering iron tip while in the process of soldering.
- Note that GPIO2, GPIO8 and GPIO9 are all strapping pins on the ESP32C3. So I would recommend first using any of the other GPIO pins to wire your macropad. Once you exhaust the others, then you can use the three strapping pins but note that you will probably have to reflash and disable the strapping functionalities in order for you to fully control the bootmodes.
What's next?
I think fully integrating bluetooth support and adding an internal battery is one obvious next step. I also want to write a client for MacOS using swift, and maybe port the firmware to other microcontrollers. But looking beyond macropads, I want to build a full keyboard using Blue Alps switches. Alps keyboards are much more rare than anything in the Cherry MX ecosystem so there are not many pcbs with Alps support out there. I think it would be fun to design my own Alps split keyboard pcb with a bunch of modern features and then make a nice CNCed aluminum case for it. I have some ideas and the perfect set of keycaps for it.