Grad Cap Project
A little project I did for my graduation ceremony
At least in America, customizing and decorating graduation caps is a common tradition. When I graduated from university earlier this year, I wanted to do something special. Something related to what I studied (Math and CS) but also creative and possibly interactive. So some sort of embedded project made sense. I thought about maybe attaching some LED lights that change color or intensity based on accelerometer readings, but then I saw these HUB75 RGB LED matrix displays on Adafruit. They're the same type of display you see used as billboards, in airport terminals, etc... but in a much smaller form-factor also perfect for the dimensions of a square graduation cap. I wasn't sure what I wanted to put on the display, but the great thing about a led screen is I could quickly put up whatever I want whenever I want.
Design Decisions
In order to control the display, I decided to go with a Teensy 4.1. There are attachments for Raspberry Pis and even all-in-one ESP32 units. But I went with a Teensy because it's compact and can be used for other projects in the future. Instead of wiring a bare Teensy to the display (which would likely need 5V level shifters and be quite bulky), I used the SmartLED shield which is designed to work with the helpful SmartMatrix library. One of the most common uses of the library is to display animated gifs, which I thought would be an easy way to display some cool, dynamic graphics.
The build
- 64x64 RGB LED Matrix with 3mm Pitch
- Teensy 4.1 (headers were pre-soldered, but you can solder your own)
- SmartLED Shield for Teensy 4
- 20,000 mAh USB power bank
- USB cables (preferably power-only)
- 4x4 Matrix Keypad
- microSD Card
- Velcro tape
- Tools like a soldering iron, wire crimper, etc...
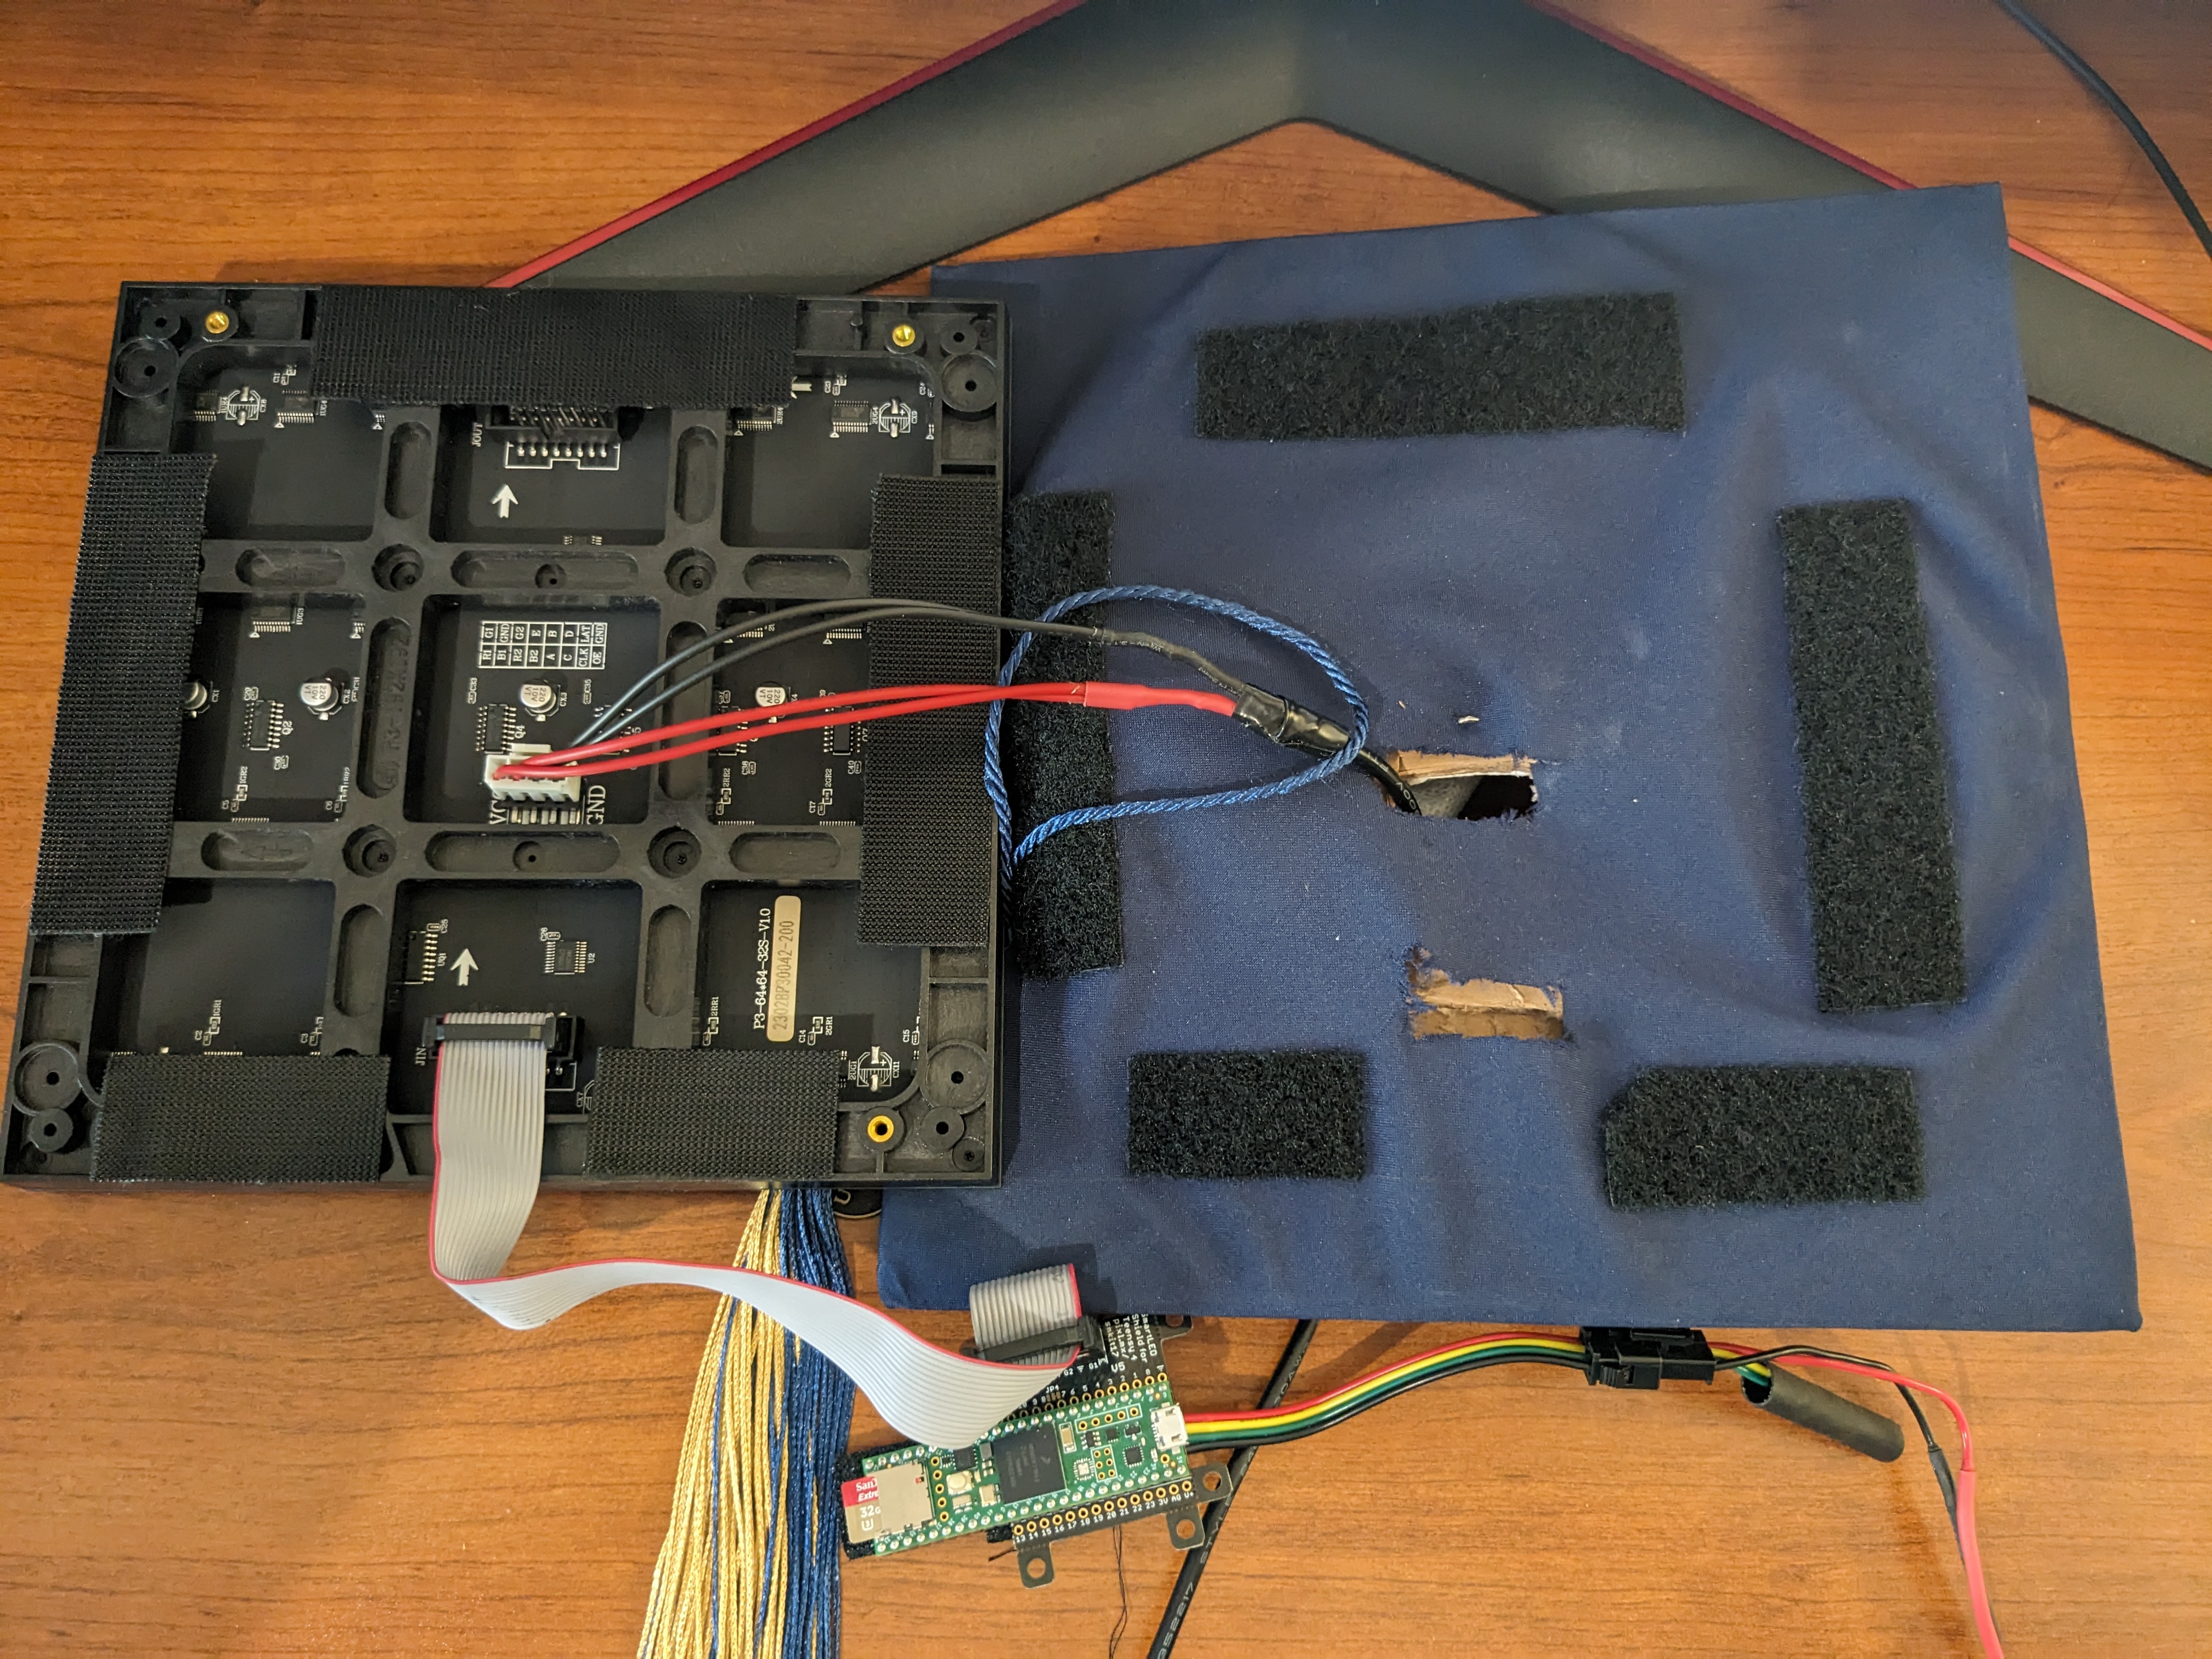
I used Velcro strips to affix the panel and keypad to my graduation cap, and cut holes through the top in order to bring the wiring behind my neck. The IDC connector for the ribbon cable protruded out, so I also had to cut a notch into the cardboard in order to make the screen level.

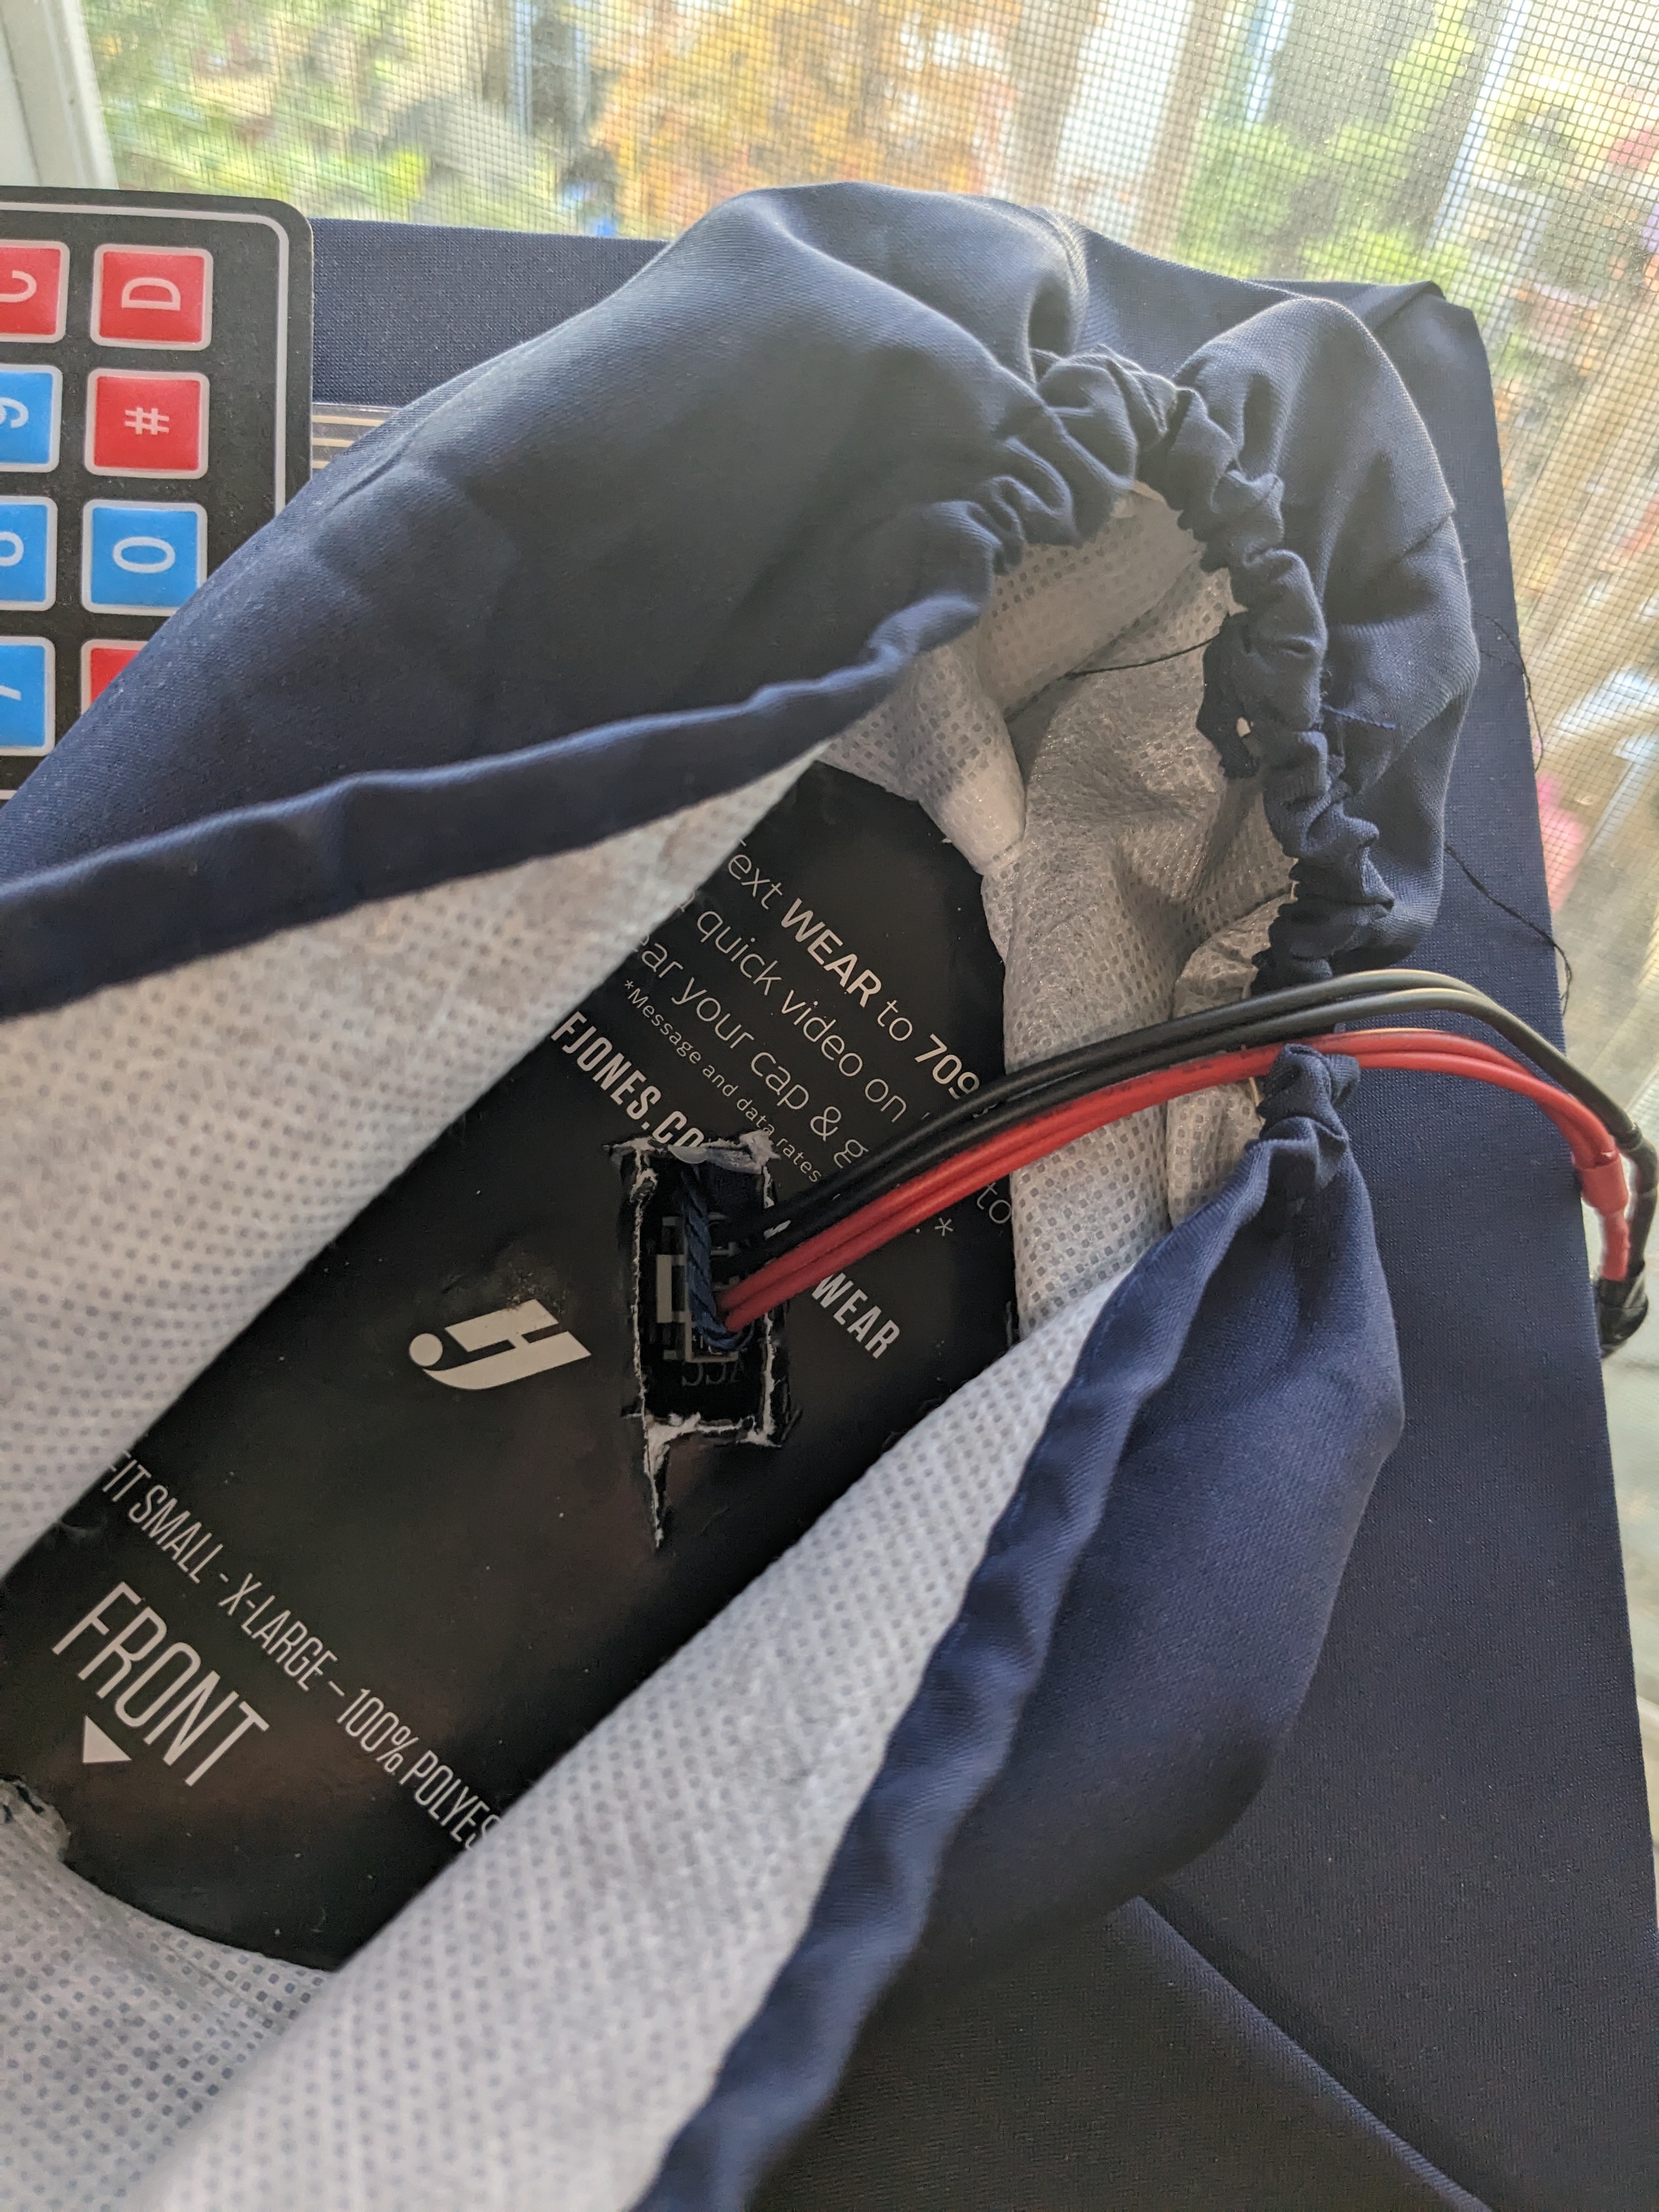
And here is what the underside of the cap looks like:

I was able to route the power cables behind my neck, and it actually wasn't uncomfortable at all. That is, the physical modifications to the cap did not affect the comfort, but the weight of the display on top meant the cap was not as easily positionable.
In sum, the supplies I used were:
Results
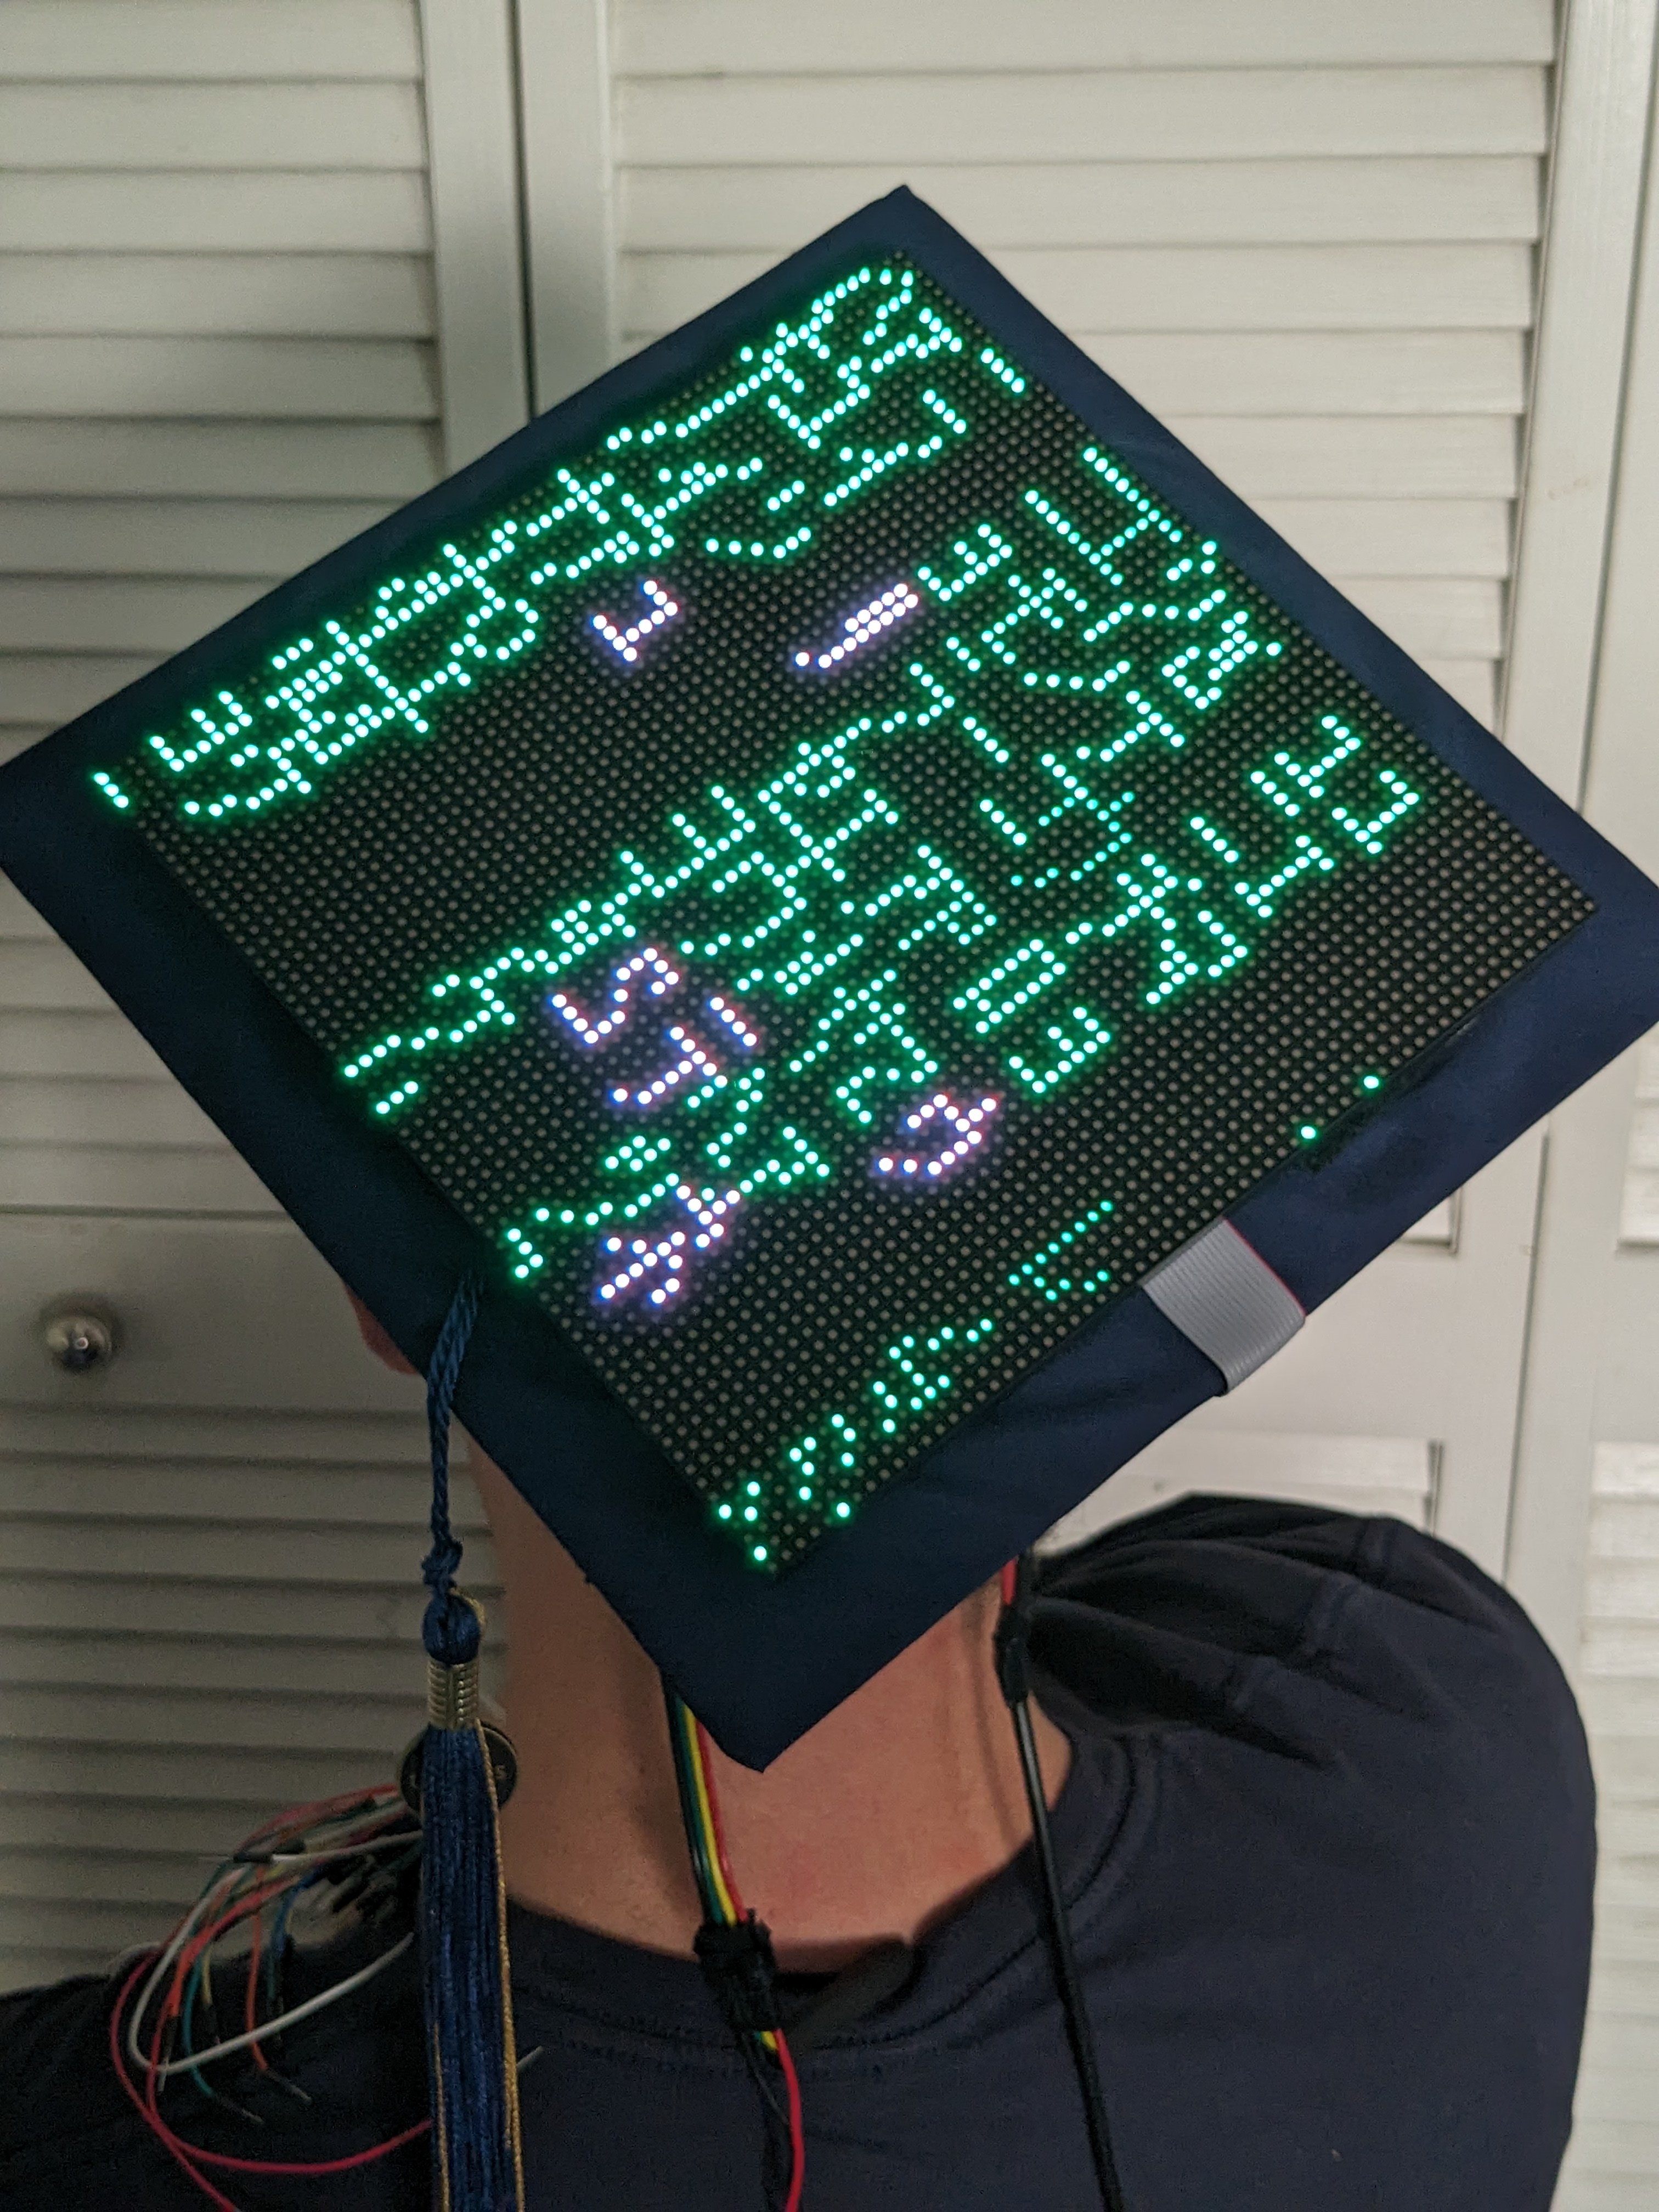
I had a selection of gifs and bitmaps (images) on my SD card, but I honestly found this "Matrix code" gif the best and I kept it on for the majority of the ceremony.

And here's the picture I submitted to the Grad Cap Photo contest (ignore the useless wires on my shoulder!):

But what should I do with the led panel now? To be continued...